Bookcases & Supply Cabinets

No more empty bookcases

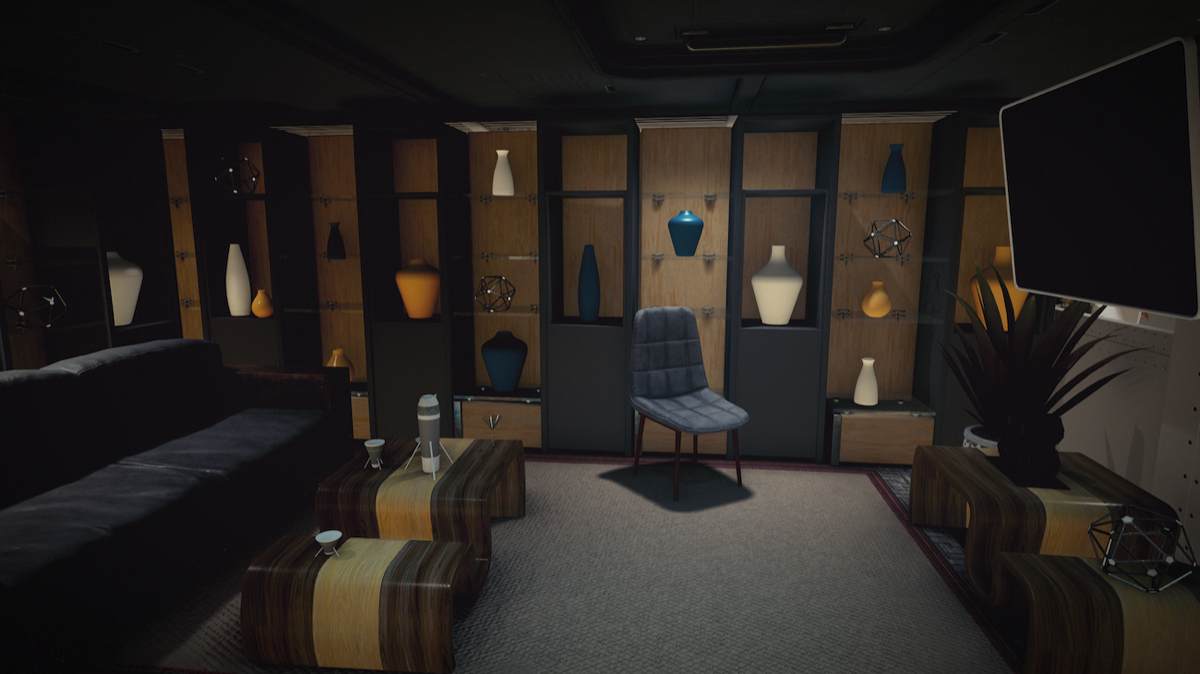
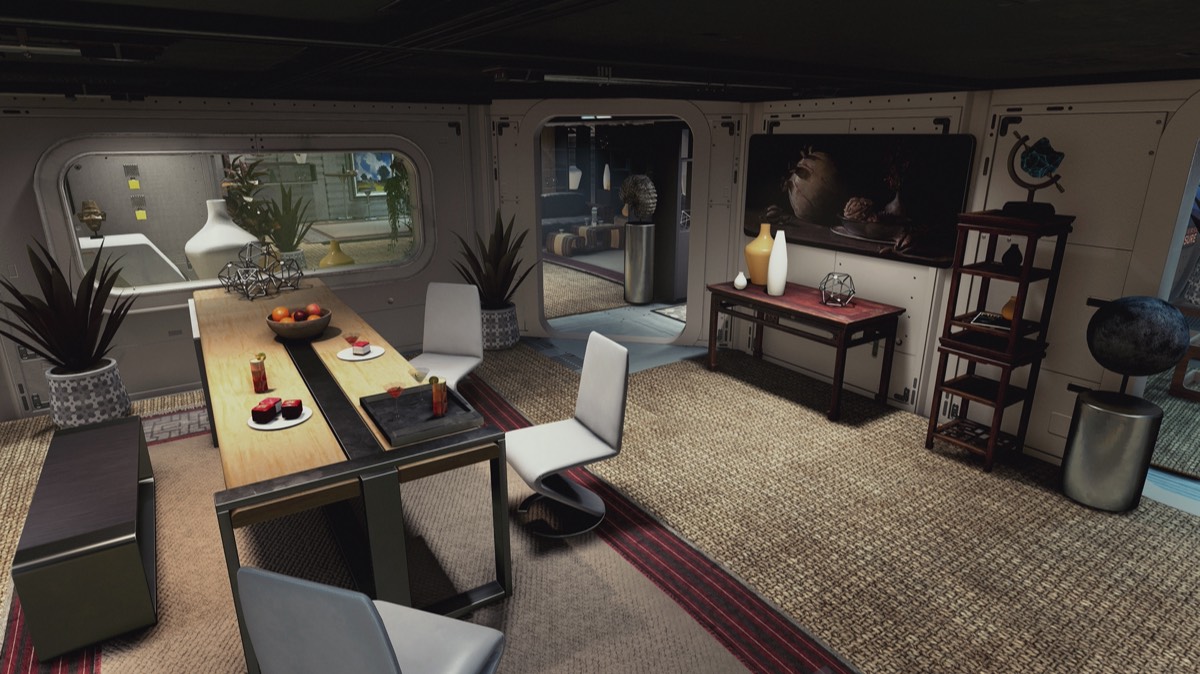
Examples of beautifully filled shelves in the mini-library (above) and bar (right) from my ship the "Aculeus XVIII"

Seeing the bookshelves at the Lodge filled with books and other cool items got me thinking about filling up my own glass-fronted bookcases and cabinets at my outposts.
Early on I discovered the "glitch" that allows us to place inventory items with the Build Menu and then delete the supporting item, which I immediately put to use filling up my empty bookshelves.

The end result of this tutorial - a full and lovely bookshelf of your very own!
Quick tutorial on how to fill up those "closed" bookcases and how to create simple, custom light fixtures.
If you're unfamiliar with the "floating in mid air" glitch for lootable items in our inventory, here's a brief rundown:
Drop an item from your inventory. Then open the Build Menu and build something (could be a shelf, table, bed, or whatever).
While still in the Build Menu pick up one of the items you've dropped from your inventory and place it on the shelf or whatever piece of furnishing you've created.
Exit the Build Menu and fast travel out of the zone.
Fast travel back, open up the Build Menu and remove or delete the furnishing that you originally built. The lottable items from your inventory should still be there, suspended in mid air.
TIP: This only works for lootable items placed on buildable items using the Build Menu
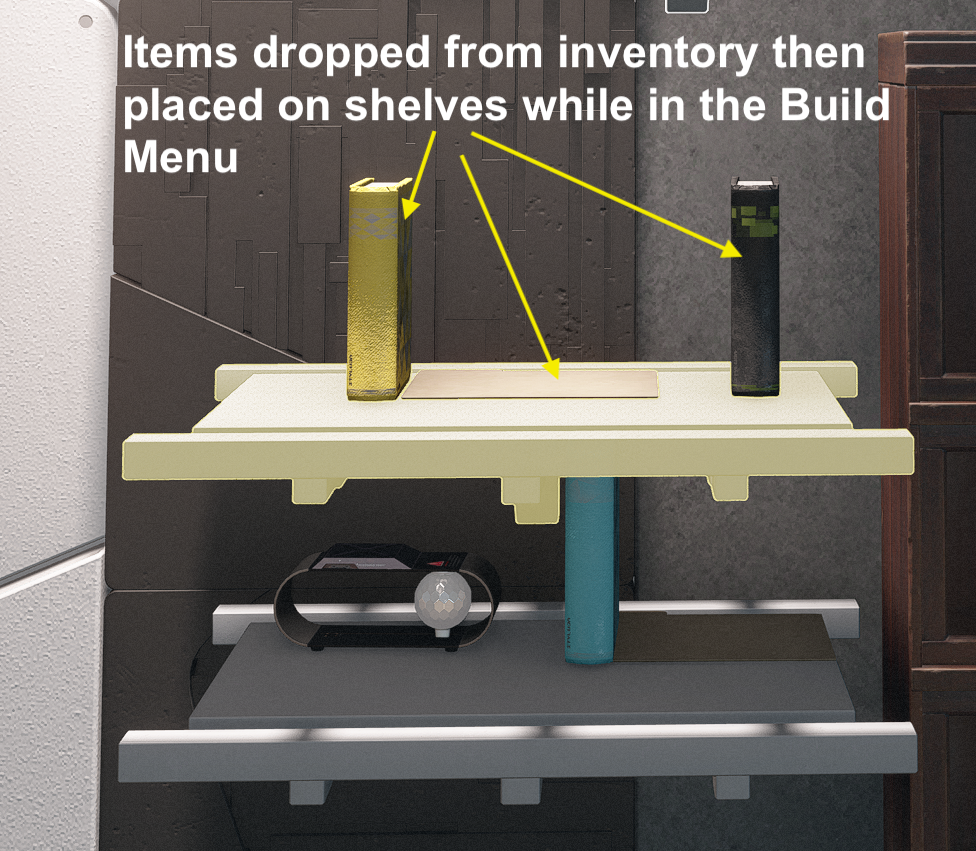
Inventory items including books and folders place on shelves while in the Build Menu before fast traveling out of the zone.
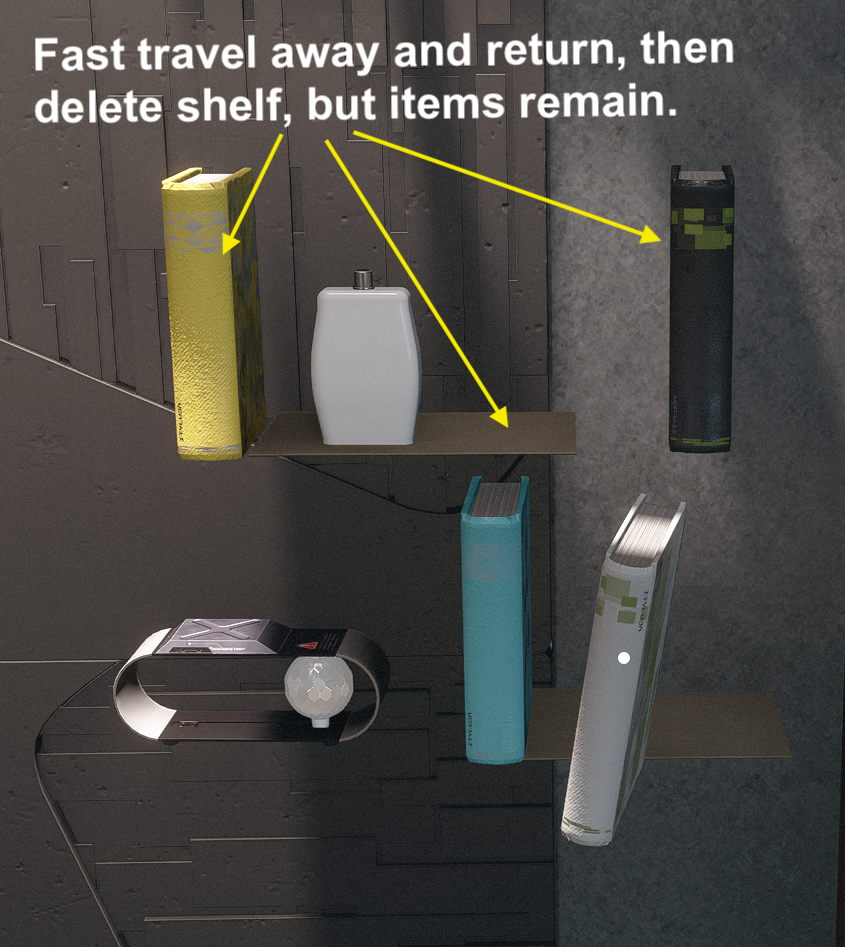
Items floating in space when you fast travel back and remove the supporting shelves.
It's a feature, not a bug!
To fill the shelves, I prefer to place items using the Build Menu and by "grabbing" the items from the floor after they've been dropped (aka without the build menu) as a work-around for items with large hit boxes. This way items can be placed fairly close to one another.
Now, let's fill those shelves.
How-To
First:
Gather folders. Yes, those flat, brown folders found spread about every POI in the settled systems
Drop a few folders and some other inventory items from the Misc, Aid, or Notes categories
In the Build Menu place either a metal Supply Cabinet or a wooden Bookcase. The technique is the same so it doesn't matter which one you use.
For this tutorial I am using the wooden Bookcase and filling 2 inner shelves

Folders - the unsung hero of filled shelves everywhere

How-To continued..
Build 2 small wall shelves placed up against the wall next to the Supply Cabinet or Bookcase you want to fill
Use the location of the shelves within the furnishing to determine the height of the wall shelves. You want them to be just below the surface of the shelving.


Checking for the correct height for the wall shelf before placing on the wall

How-To continued..
Suggest working on the lowest shelf first
While in the Build Menu pick up and place a folder on the wall shelf. This is where you'll "hand" place items that you've grabbed without the Build Menu
Then place books and other items on the wall shelf.
There will be a limit as to how close you can place them to each other. Because these items can't be knocked over by random NPC's or when hand placing other items, I use these as book ends or supports to lean items against.

Books, folders, and misc item all placed on the wall shelves using the Build Menu

How-To continued..
Hint: If at an Outpost, I usually leave the planet. If I'm on my ship or a house, I will fast travel to the city center.
How-To continued..
Now we need to make sure our Bookcase fits around the items we want to go inside
Remove the Wall Shelves
Move Bookcase over until you can place it
This can take some patience, but if it remains red one or more items may be outside of the "empty" area inside the Bookcase. You may need to delete this item or redo you're arrangement of items.
Move Bookcase back to the side

Everything fits within the "empty" space in the Bookcase. Yay, us.
How-To continued..
Next up we place items using the "grab" method and carefully place them on the folders.
How-to Placing items without using the Build Menu, or using the Grabbing method as I like to call it.
Important keys and buttons:
On PC:
On Console:
Tips:
The inner shelves on the Bookcase don't support our items, so our "invisible" shelves (aka folders) will be our supports while hidden just below the surface of the inner shelving.


"Grabbable" when hovering over item and the name pops up

Once grabbed, walk (regular or crouched) over to the folders and place

What a nice, filled bookcase you have there.

Ready to move the Bookcase to it's final placement
© Perfectlyhumble 2024